
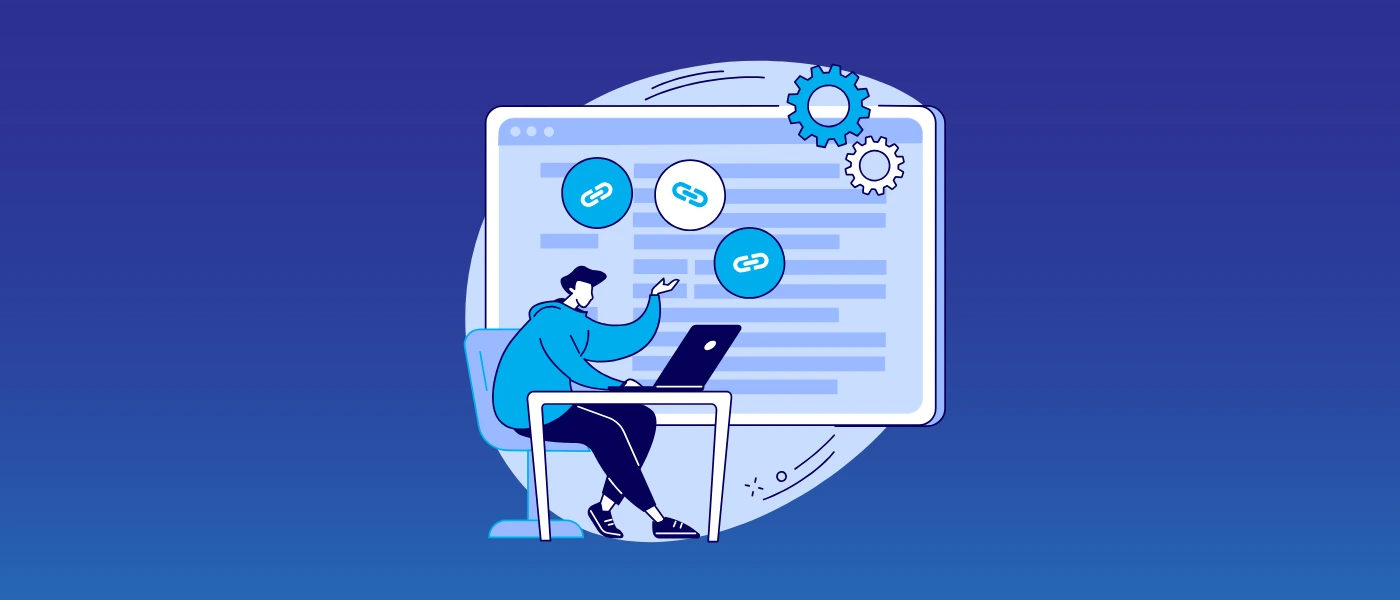
10 Best Ecommerce Link Building Strategies for 2025
Link building is a highly effective search engine optimisation (SEO) strategy. It is a way…

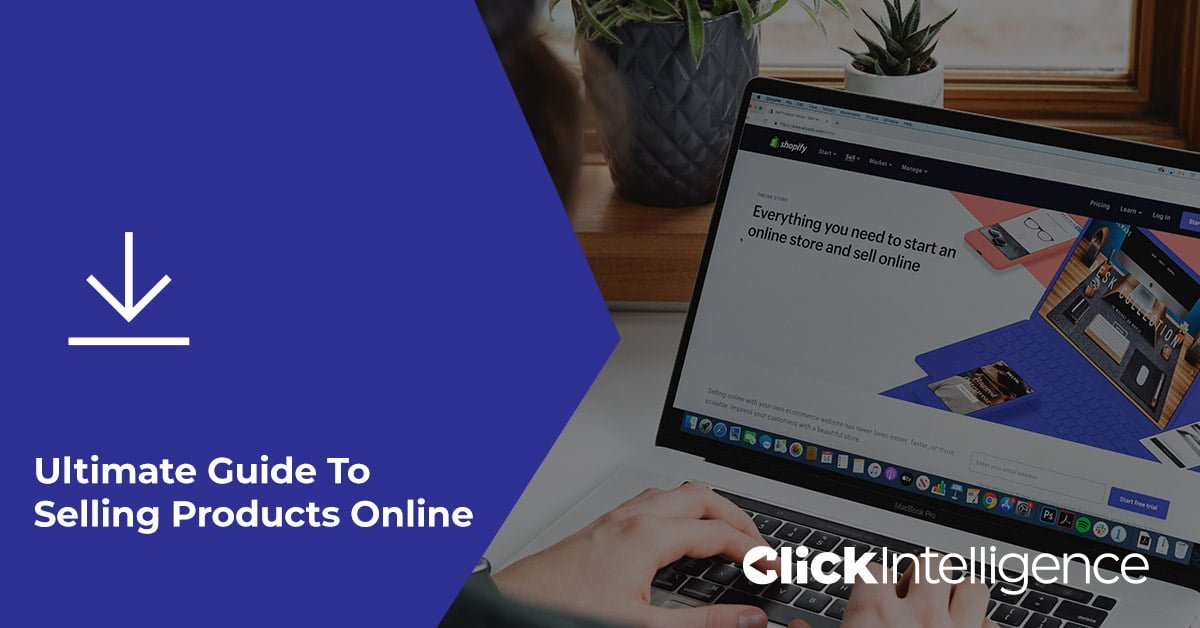
Setting up Shopify is really simple, and with our step by step guide below, you should be able to start building your store in a matter of minutes.
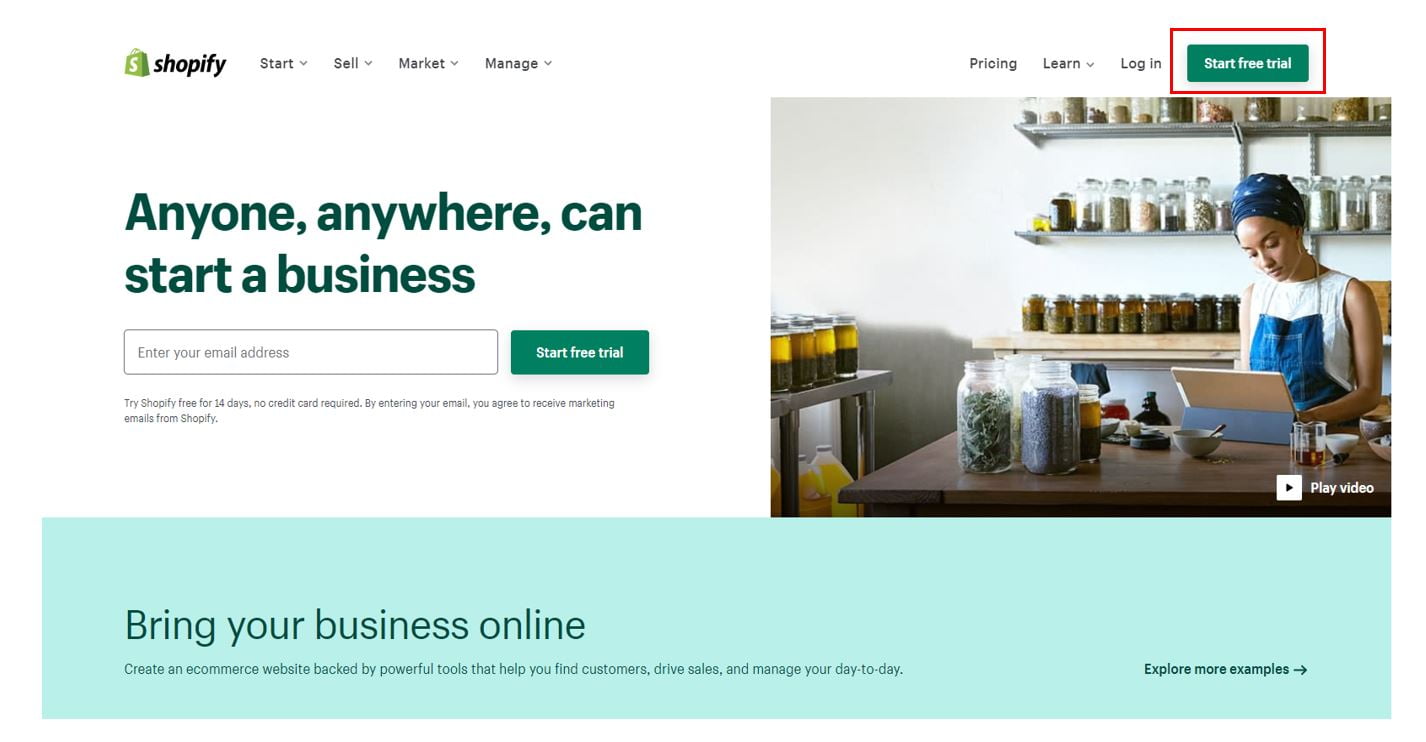 You need to start your free 14-day trial. These 14 days allow you more than enough time to get your store up and running, ready to launch. After this period, you can always go back and make improvements and add more products. You won’t need to enter your payment details until the end of your trial or when you decide to launch your store and pick a payment plan.
To sign up for a Shopify account, you will need to provide your email address and store name, as well as a secure password of your choosing.
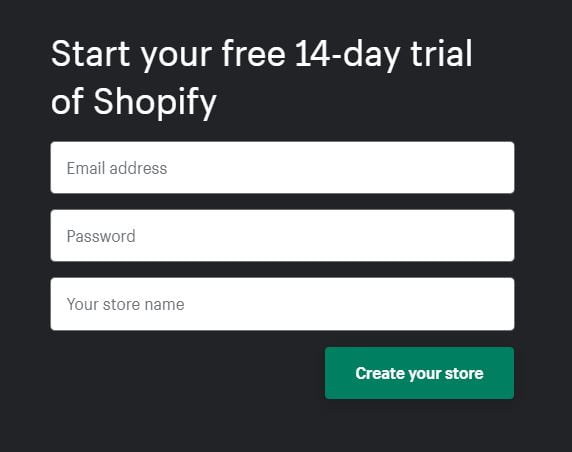
Your store name will become your default URL, and once entered, you won’t be able to change this unless you buy a custom domain.
Click on the button “Create your store”.
The setup wizard will take you through the next process, asking you a few questions.
Once you have filled in this information on-screen, you have finished the store creation process.
Top Tip: You can choose this pricing plan at any point during the 14 days, but when you are ready, click on the home page, and you should find the button “Select a plan”.
This will pull up the three different pricing plans. On your chosen plan, click on the button “Choose this plan”.
You will then need to provide Shopify with your payment details. Spend plenty of time thinking about your business needs. However, don’t worry if you change your mind; you can upgrade or downgrade at any time to the plan you want.
When your store creation process is complete, the homepage will display. This is your Shopify account.
On the homepage, you will find helpful tips (found in the center of the page) to assist you throughout the entire process.
Underneath this, there are three buttons:
The first thing you want to do is add your products. There is no point in setting up a store if you can’t sell anything, after all. Your products help you in the design process later on and can influence the look and feel of your entire store.
Click on “Add product” on the homepage.
Alternatively, to the lefthand side of the page, you will find a navigation menu. Click on the products page, and then select add product.
Clicking on this will create your first ever product listing. Every stage of this process is important.
You need to come up with a title that tells customers exactly what the product you are selling is. The shorter it is, the better. Remember, this will be what your customers see when they are browsing or using the search feature on your store.
A product title will tell your customers what your product is, but that doesn’t mean they will understand what it is and how it can help them. Therefore, you need to write product descriptions that consider the audience, are easy to scan, and convince the customers that your product is the right one for them.
This stage is really easy if you already have your product photos. Head to the Media section and upload the images for your product. Once uploaded, you can then crop and resize using the basic edit tool.
You don’t just have to stick with images; you can also upload:
Remember, a customer will not be able to touch, smell, or feel the product, so between your images and words, you need to show them why your product can help them.
You will need to decide on how much you are going to sell your products for. Fill in the price field. This is what customers will see and pay.
It is possible to adjust your pricing later on if you discover your customers would be happy to pay more, or vice versa.
There are two optional fields you can also fill in:
You will then need to tick the box “Charge tax on this product” as businesses have to collect tax every time someone places an order. There are some exceptions, so double-check that your business has to do this.
Click on the Shipping section and enter details, such as weight, that will enable Shopify to calculate the rates.
The chances are that you have the same products in different sizes and colours. If you do, rather than adding them as individual products, you can tick that they are variants of the same product.
To get your customers to trust you, you need to provide a few more details about your business. This is easy to do when you create pages.
Click on Online Store and then select Pages. Some key pages to have before you launch include:
You can select the appropriate template within the page creation stage.

With products and pages at the ready, you can now get started on customising your store.
Go to the Online Store and click on Themes. There are both free and paid themes available that have their own styles and features.
Some themes will suit certain businesses, so carefully look at each one to ensure you are selecting the most appropriate one.
Even with your chosen template and theme, you can customise this further. You can remove, add, rearrange, or even hide sections of the theme, and change the colours and fonts later on.
Sections are what make up the themes and can help you decide layouts. Some sections you can use include featured product, image with text, and featured collection.
To further customise your store, click on the Theme Settings tab in the online store editor.
The navigation menu to the left will display everything you need, from colours to fonts and more. If you want, you can even customise the look of your checkout here.
Lots of factors can influence the shipping, from weight to destination and carrier rates. There are various options you can select, but this will require plenty of research into what strategy will be needed for your business.
To set up your shipping strategy, head to Settings, and then click on Shipping.
This is where you can create shipping zones and set rates for shipping to other countries. You can also set conditional shipping rates, such as free shipping if the order meets certain criteria. To do this, click on Add rate and fill in the information.
Customers won’t want all the same shipping methods, so make sure to set up real-time calculated shipping rates at this stage too.
You must not forget to fill out Shopify’s tax forms to ensure you and your store are compliant. The good news is Shopify will handle most of the tax calculations, but it is always a good idea to check that you are being charged the right amount of sales tax. If you are not, you can change this.
Go to Settings and click on Taxes. You can edit the default rates here or override specific conditions if they apply.
On the Settings tab, click on Payments.
Choose the payment options that you would like to offer your customers, such as credit cards or one-click payments like Apple Pay, or other payment options such as PayPal. There are over 100 third party providers to choose from.
You can even choose to sell in multiple currencies if you wish. To set the currency you sell your products in, go to Settings and click on General.
At this stage, you can also select whether you want extra fraud protection and how you want to receive your payout. Choose from daily, weekly, or monthly options.
With all the previous steps complete, you can now launch if you would like.
Go to Online Store and click on Preferences to disable the password protection. However, if you would like, at this point, you can add a custom domain. On the Online Store, click on Domains, and buy your domain in a matter of minutes.
Before you launch, this is the ideal time to get your marketing underway, but for this, you would benefit from seeking our help.
Link building is a highly effective search engine optimisation (SEO) strategy. It is a way…
You can’t afford to take your foot off the pedal when it comes to search…
Download our free Millionaires SEO Guide Today!
We’re going to take a look at how you can turn your eCommerce dream into a reality.
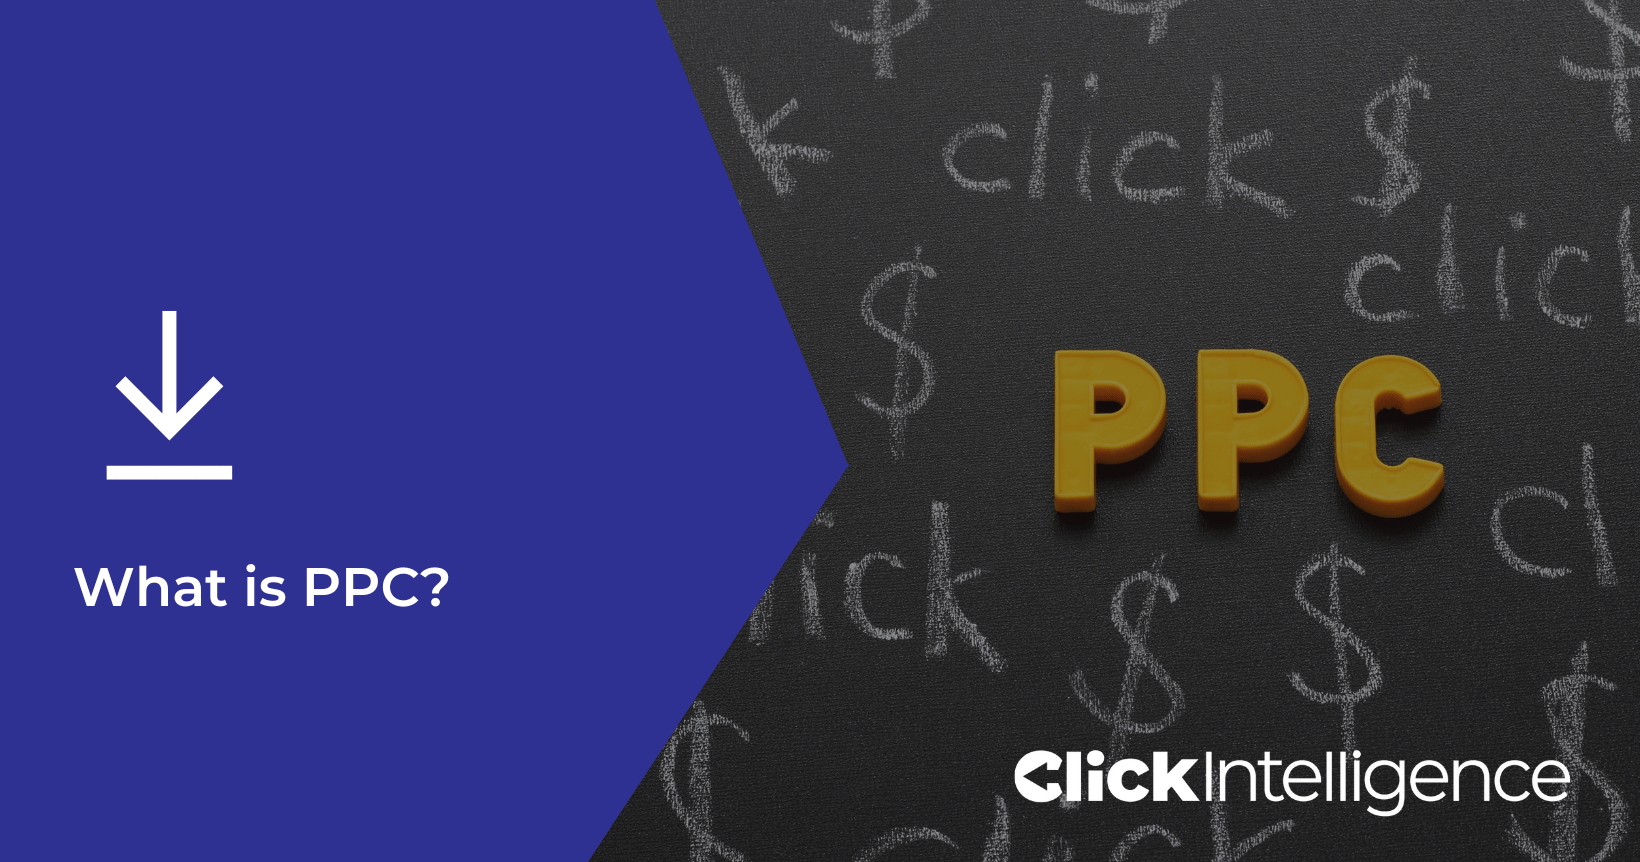
There’s a good chance that you’ve already heard of PPC. As a marketing tool, PPC is invaluable, but there seems…
Simply appearing on a search page isn’t enough anymore, not in today’s world driven by…

Follow vs nofollow links have been debated in digital marketing for years. Questions are often…
Citations are a long-standing SEO trust signal that helps increase visibility in local search results…

In 2026, digital PR services are essential for any brand wanting to build lasting authority…
Picture this: you're working at an SEO agency, managing multiple clients and delivering strong results…
You may have heard that Google has rolled out a notable new update: the February…
Search is evolving quickly. Large Language Models (LLMs) and Google AI overviews now have a…
Automation is on the rise in just about every industry, and SEO is no exception…
If you are looking to increase your traffic, sales & leads, let's have a chat!
The team will usually respond within 1 hour.